


Efficient Cleaning Tactics to Perfect Your Home Before Moving
Posted on 02/06/2025
Efficient Cleaning Tactics to Perfect Your Home Before Moving
Moving to a new home can be both exciting and overwhelming. One of the essential tasks before you hand over your keys is ensuring your old home is spotless. Whether you want to get your security deposit back, leave on good terms with the new owners, or simply take pride in a job well done, efficient cleaning tactics for the home before moving are crucial. This comprehensive guide offers practical, thorough cleaning strategies to help you perfect your home pre-move, save time and effort, and enjoy peace of mind during the transition.

Why Is Move-Out Cleaning Important?
Move-out cleaning is a significant part of the moving process for several reasons:
- Security Deposit Return: Landlords typically require the space to be as clean as when you moved in.
- Positive Impression: Leaving a fresh and clean home benefits the next occupants and reflects well on you.
- Reduce Stress: A well-cleaned home means fewer last-minute hassles and a smoother transition.
- Future Reference: Your previous landlord may be more likely to give you a good recommendation for your next rental.
Step-by-Step Guide to Efficient Cleaning Before Moving
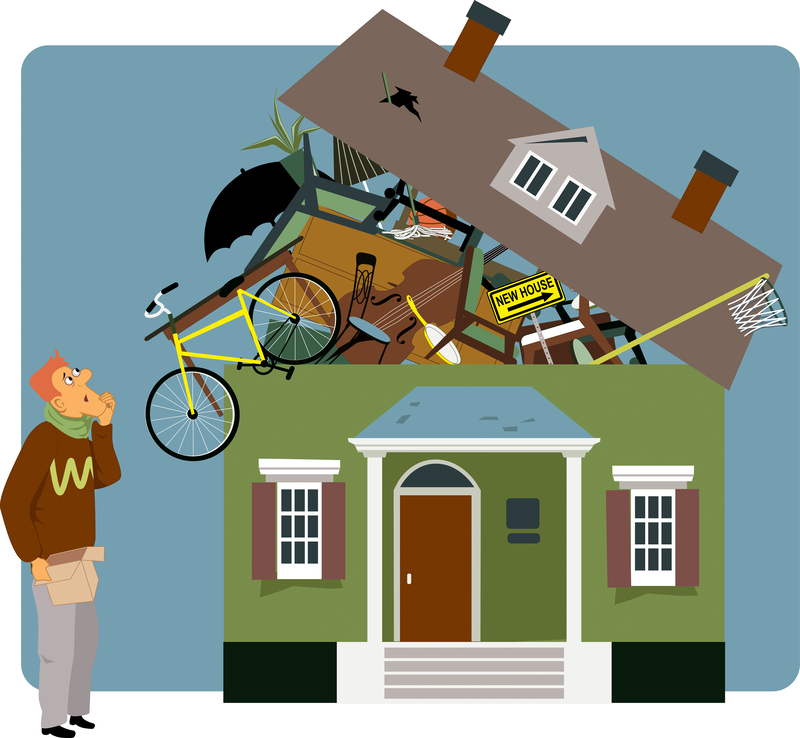
1. Start with a Decluttering Session
Before you can clean efficiently, reduce the clutter. Sorting through your possessions will make cleaning easier and less time-consuming. Here are some tips for efficient decluttering:
- Sort items into four categories: keep, donate, sell, toss.
- Work one room at a time to avoid feeling overwhelmed.
- Use boxes or bags labeled for each category.
- Remove donated and trashed items from your home immediately to clear space.
Decluttering can reveal hidden dirt and give you a head start on pre-move cleaning.
2. Make a Cleaning Checklist
An organized checklist ensures you don't miss any critical tasks. Craft a checklist tailored to each room or use the template below:
- Bathroom: toilet, shower/tub, sink, floors, mirrors
- Kitchen: counters, cabinets, fridge, stove, sink, floors
- Bedrooms: closets, baseboards, windows, dusting
- Common Areas: living room, dining room, entryways
- Appliances: inside and out, including washer/dryer
- Floors: vacuum, mop, and steam where applicable
A move-out cleaning checklist keeps your efforts focused and ensures nothing gets overlooked during your final clean.
3. Gather the Right Cleaning Supplies
Having all necessary supplies within reach boosts efficiency. At minimum, equip yourself with:
- All-purpose cleaner and disinfectant
- Glass and window cleaner
- Sponges, scrub brushes, and microfiber cloths
- Mop, bucket, vacuum, and broom
- Trash bags and dustpans
- Heavy-duty gloves for protection
Gather all supplies before beginning to minimize interruptions and enhance your home move-out cleaning efficiency.
4. Clean from Top to Bottom
Always start at the top of a room and work your way down. This approach ensures dust and debris from higher surfaces fall to the ground, which you can catch during the final floor sweep. Follow this order:
- Ceilings and light fixtures (brush away cobwebs and dust)
- Walls and switchplates (wipe down and remove smudges)
- Windows and blinds (clean glass, frames, and ledges)
- Furniture and counters
- Baseboards
- Floors (vacuum, mop, or scrub last)
This cleaning tactic saves time by avoiding redundant sweeping or vacuuming.
5. Tackle One Room at a Time
Focus on cleaning one area thoroughly before moving to the next. This reduces distractions, avoids cross-contamination, and gives a sense of accomplishment as each area is completed. Here's how to approach different areas:
- Bedrooms: Dust and wipe down all surfaces, clean inside closets and drawers, vacuum under beds, and wash windows.
- Bathrooms: Use disinfectants on all surfaces. Remove soap scum and hard water stains from showers, tubs, and sinks. Don't forget to clean mirrors, light fixtures, and behind the toilet.
- Kitchens: Degrease surfaces, clean inside and outside appliances, wipe cabinets and countertops, and sanitize sinks. Empty and clean drawers and shelves.
- Living and Common Areas: Dust electronics and furniture, wash windows, clean under cushions, vacuum carpets, and mop hard floors.
6. Use Appropriate Cleaners and Techniques
Each surface material requires the right cleaner and method to avoid damage and maximize cleanliness:
- Glass: Use streak-free ammonia-based or vinegar solutions.
- Wood: Choose specialized wood cleaners or mild soap with water.
- Granite/Stone: Avoid acidic cleaners and use recommended products.
- Appliances: Degreasing cleaners for ovens/stovetops, and mild detergents for fridge interiors.
- Floors: Mop tile or vinyl, and use carpet solutions for stains and odors.
Always spot-test an unfamiliar cleaner in a hidden area first.
7. Focus on High-Traffic and Overlooked Areas
Efficient cleaning doesn't just mean visible areas. Pay attention to:
- Baseboards and vents (where dust gathers)
- Behind and under appliances and furniture
- Window sills, frames, and tracks
- Interior doors and handles
- Light switches and thermostat panels
Thoroughly addressing these spaces perfects your home and demonstrates attention to detail.
8. Don't Forget Exterior Entryways
First impressions matter, so sweep and clean porches, entryways, and steps. Remove cobwebs, wash down doors, and clean any exterior lights for a lasting impression on new occupants.
9. Freshen Up the Air
Odors can linger even after cleaning. To truly perfect your home before moving, air it out by:
- Opening all windows for ventilation
- Placing bowls of baking soda to absorb odors
- Using essential oil diffusers or air fresheners
A clean, fresh-smelling home is much more inviting for new residents--and for a final walkthrough.
Room-by-Room Deep Cleaning Checklist
Kitchen Cleaning Before Moving
- Defrost and clean refrigerator/freezer (leave doors open if unplugged)
- Scrub oven, stovetop, and microwave (inside and out)
- Empty and wash all cabinets and shelves
- Sanitize countertops and sink
- Clean dishwasher and remove debris from filter
- Mop floor and clean baseboards
Bathroom Deep Cleaning Tactics
- Disinfect toilet, top to bottom
- Scrub shower, tub, and tiles to remove mildew
- Polish mirrors and glass doors
- Wipe down vanities, cabinets, and hardware
- Wash or replace shower curtains
- Mop and disinfect floors
Bedroom and Living Room Refresh
- Launder curtains and wipe blinds
- Steam clean carpets or spot clean stains
- Wipe walls and baseboards
- Check closets for forgotten items; vacuum or sweep out
- Dust and clean light fixtures and ceiling fans
Pro Tips for Stress-Free and Efficient Move-Out Cleaning
- Start Early: Don't wait until the last minute--ahead-of-time cleaning allows for drying and repairs.
- Multitask: Soak stubborn stains or baking soda in sinks/tubs while you clean elsewhere.
- Use the Right Tools: Extendable dusters, steam cleaners, and microfiber cloths speed up the process.
- Enlist Help: Family members, friends, or professionals can save you countless hours.
- Take Photos: Document your cleaning efforts for deposit disputes or follow-up needs.
When to Hire Professional Move-Out Cleaners
In some scenarios, hiring a reputable move-out cleaning company is the most efficient tactic:
- You're short on time or moving long distance
- The property requires specialized cleaning (carpet, deep stains)
- You have large or multiple properties to clean
- You lack the necessary supplies or equipment
Professional services guarantee a thorough, inspection-ready home and may offer a "satisfaction guarantee."
Frequently Asked Questions: Move-Out Cleaning
Q: How far in advance should I start cleaning before moving?
Begin cleaning at least two weeks before your move date. Allocate sessions for deep-cleans in each room and leave high-traffic or "last minute" areas (like the kitchen and bathrooms) until 1-2 days before your actual move-out.
Q: What should I clean last before moving out?
The kitchen, bathrooms, and entryways are most frequently used right until moving day and should be cleaned last. Floors should be the very last step, immediately after all packing and moving is done.
Q: Should I patch holes and fix damages during move-out cleaning?
Yes. Patch nail holes in walls, touch up paint if necessary, and repair minor damages to increase your chances of a full security deposit and to show respect to new tenants or owners.
Eco-Friendly and Budget-Minded Move-Out Cleaning Solutions
- Baking Soda: Great for scrubbing and removing odors from appliances and carpets.
- Vinegar: An effective glass and surface cleaner that tackles mineral stains.
- Lemon: Natural disinfectant and degreaser; use with salt for tough stains.
- Old Shirts/Towels: Use as rags instead of buying new cleaning cloths.
- Steam Cleaners: Use just water for deep sanitizing without chemicals.
Summary: Your Move-Out Cleaning Success Checklist
- Declutter and sort your possessions first
- Create and follow a detailed cleaning checklist
- Gather all necessary supplies ahead of time
- Use efficient cleaning tactics: top-to-bottom and one room at a time
- Address high-traffic spots and hidden areas
- Don't forget exterior entryways and fresh air
- Consider professional help if needed
Perfecting your home before moving out demonstrates responsibility, gets your deposit back, and makes transitions smoother for you and the next occupants. With these efficient cleaning tactics, your move will feel less overwhelming, and your home will be left sparkling behind you.
Ready to start? Print this guide and customize the checklist to your home to ensure an efficient, thorough, and stress-free pre-move cleaning!


